
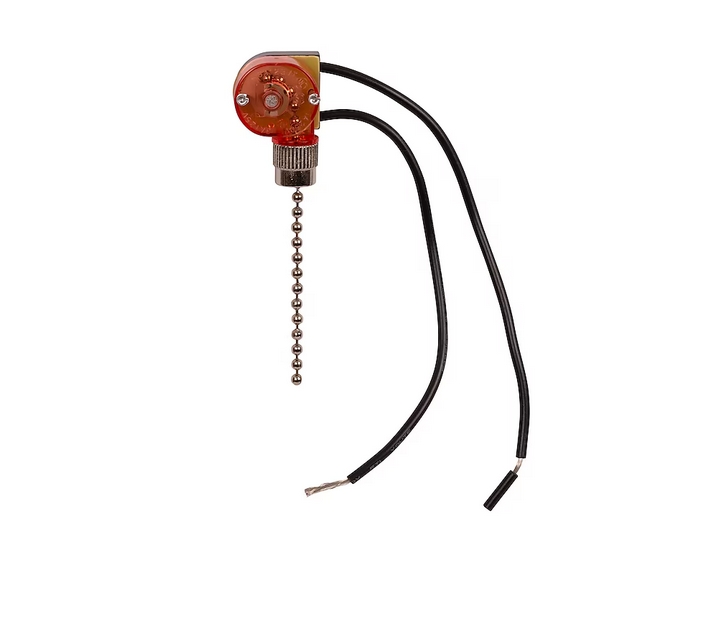
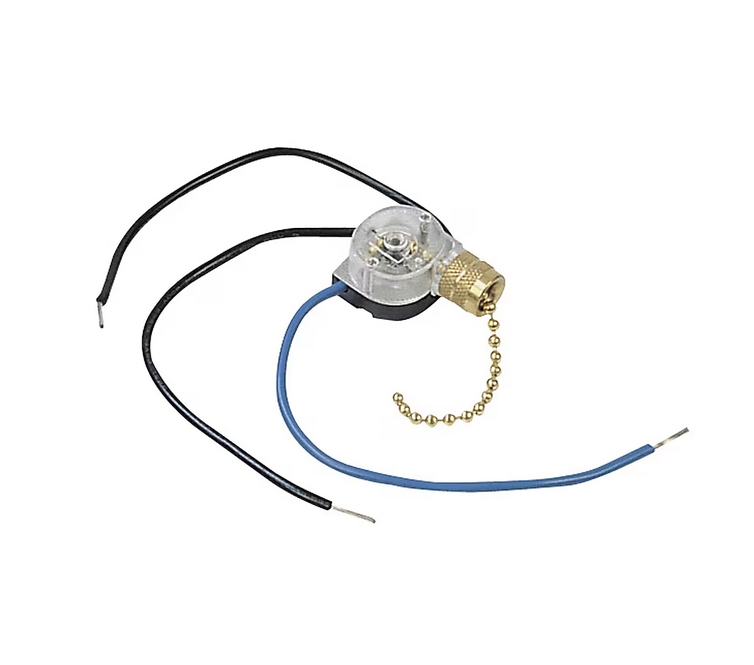
Harbor Breeze Universal 6-in 2-Setting Chrome Indoor Ceiling Fan Switch
- Replacement switch controls the on/off ceiling fan light control
- Easy to install in an existing ceiling fan to repair a broken switch
- Includes 2-in chrome pull chain from switch
- 6-in lead wire from switch
- 1A/250v, 3A, 125v, 18AWG wire, 105deg Celsius
$5.98
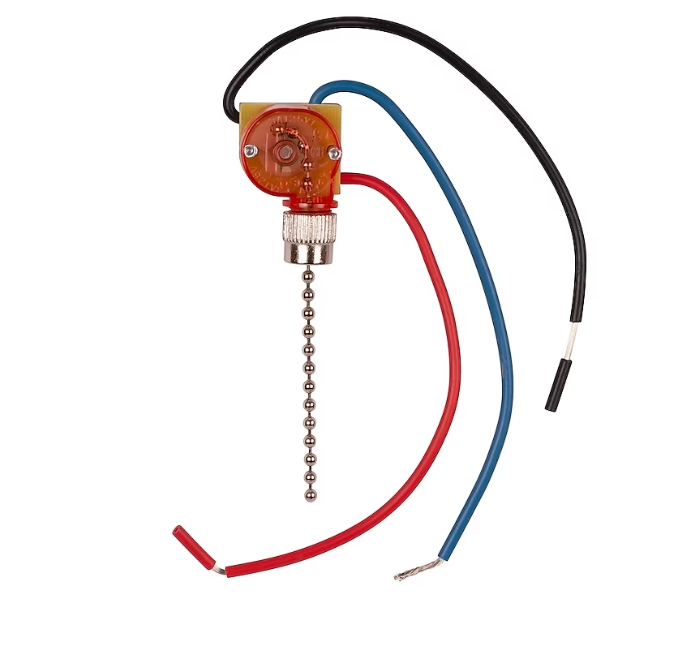
Harbor Breeze Universal 6-in 3-Setting Chrome Indoor Ceiling Fan Switch
- Replacement fan switch controls the 3 way ceiling fan light switch
- Easy to install in an existing ceiling fan to repair a broken switch
- Includes 2-in chrome pull chain from switch
- 6-in lead wire from switch
- 1A/250v, 3A, 125v, 18AWG wire, 105deg Celsius
$8.98
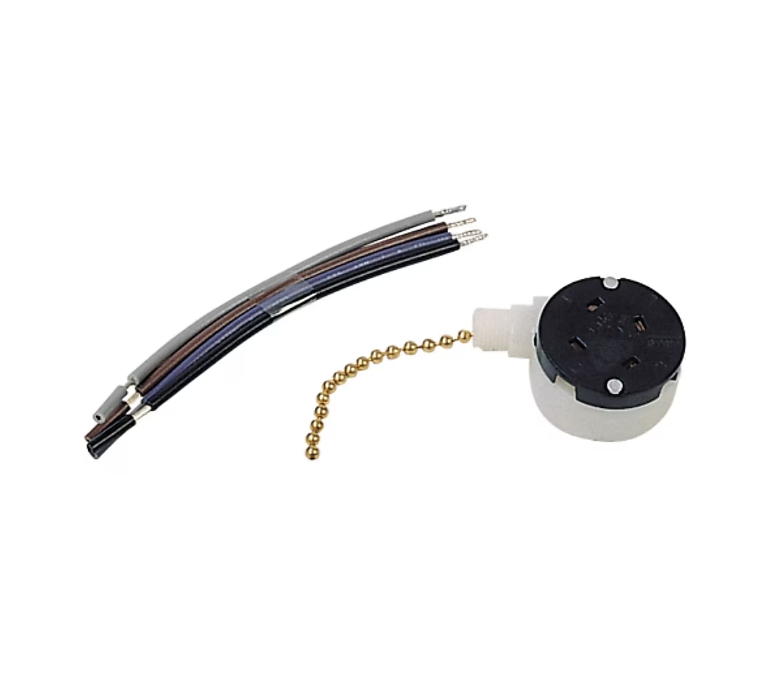
Harbor Breeze 1-in 1-Speed 3-Setting Black Metal Indoor/Outdoor Ceiling Fan Switch Chain
- The Harbor Breeze 3-way fan speed switch is a cost effective way to fix your fan. Add fan pull extension for easier grip.
- 3 Speed single capacitor switch
- Easy installation
- Wires included
$7.08
Harbor Breeze 1-in 2-Setting Brass Metal Indoor/Outdoor Ceiling Fan Switch Chain
- The Harbor Breeze on/off light switch is a cost effective way to fix your existing fan. Styled in a brass finish add any fan pull for easier grasp.
- On/off light kit switch
- Easy to install
- Wires included
- Compatible with most fans
$10.98
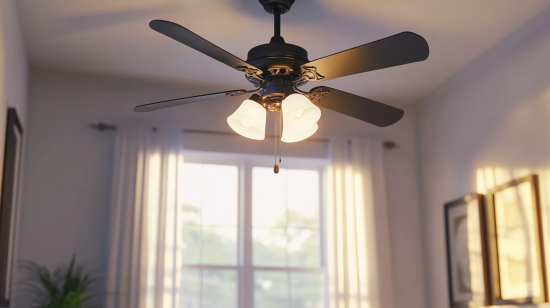
Having a faulty switch on your Harbor Breeze ceiling fan can be frustrating. Not being able to easily turn your fan on and off defeats the purpose of having it in the first place! Luckily, replacing the switch is a straightforward process that most homeowners can tackle themselves. In this comprehensive buying guide, I’ll walk you through everything you need to know to buy a new Harbor Breeze ceiling fan switch and install it.
Where to Buy a Replacement Harbor Breeze Ceiling Fan Switch
The first step is purchasing a replacement switch. You have a few options here:
- Visit a home improvement store – Stores like Home Depot, Lowe’s, and Menards typically carry replacement switches that will be compatible with Harbor Breeze fans. This allows you to see the switch in person before buying.
- Order directly from Harbor Breeze – Harbor Breeze has a wide selection of replacement parts available on their website, including switches. This ensures you get an exact replacement part.
- Buy from an online retailer – Amazon and other online stores sell compatible generic switches. This route is often cheaper. Just make sure to get the right style and amperage rating.
When selecting a switch, the most important factor is getting the correct style – either pull chain or wall mount. You’ll also want a switch rated for at least 1.5 amps. Make note of the number of switch poles your current model has as well.
How to Replace the Switch
Replacing the switch involves basic wiring and just a few tools:
- Phillips screwdriver
- Needle nose pliers
- Wire cutters/strippers
Safety first! Be sure to turn off power to the fan at the circuit breaker before starting.
The steps are:
- Remove the switch housing from the fan assembly. This usually involves unscrewing a few screws.
- Disconnect the wiring from the old switch. There may be as few as two wires, or as many as 4-5.
- Carefully note the wiring connections! You’ll need to duplicate these on the new switch.
- Connect the wires to the new switch. Securely fasten with wire nuts.
- Mount the new switch back into the housing and reinstall.
Restore power and test your new switch! Take care not to touch any wires while the power is on.
Troubleshooting Harbor Breeze Switch Problems
If your ceiling fan isn’t responding to the switch, there are a few things to check before replacing it:
- Check circuit breakers and fuses – Reset any tripped breakers related to the fan.
- Inspect wiring connections – Loose wires can cause intermittent function. Re-secure any loose connections.
- Test for voltage – Use a multi-meter to confirm power to the switch. If there’s no power, check connections at the breaker.
- Replace pull chain switches – These commonly fail over time. Replace pull chains as the first troubleshooting step.
- Check remote/transmitter – If you have a remote, replace the battery. Make sure transmitter and receiver are paired.
- Assess switch damage – Look for any burned or damaged switch components. This indicates replacement is needed.
If issues persist after covering the basics, replacing the switch is the next logical step.
Tips for Installation
Follow these tips for a smooth, safe switch installation:
- Turn off power at the breaker. Do not work on a live circuit!
- Clearly label wires as you disconnect them.
- Take pictures of the original wiring for reference.
- Only connect matching wire colors. Green=ground, white=neutral, black=hot.
- Ensure wire nuts are securely twisted onto connections. Tug gently to verify.
- Use electrical tape to insulate exposed wires.
- Test the fan without blades first. Power it on briefly to check switch function.
- Consult manufacturer diagrams if you’re unsure about wiring.
Taking it slow and following safety procedures is crucial when working with electrical components. With the right replacement switch and proper installation, you’ll be back to easily controlling your ceiling fan in no time!
Conclusion
Fixing or replacing a faulty Harbor Breeze ceiling fan switch is a DIY project any homeowner can accomplish with a little guidance. Evaluate your symptoms, purchase the correct replacement switch, and be diligent when making wiring connections. With this buying guide’s step-by-step instructions, you’ll be able to buy and install a new switch to get your fan functioning like new again. Enjoy the renewed convenience of controlling your ceiling fan!