

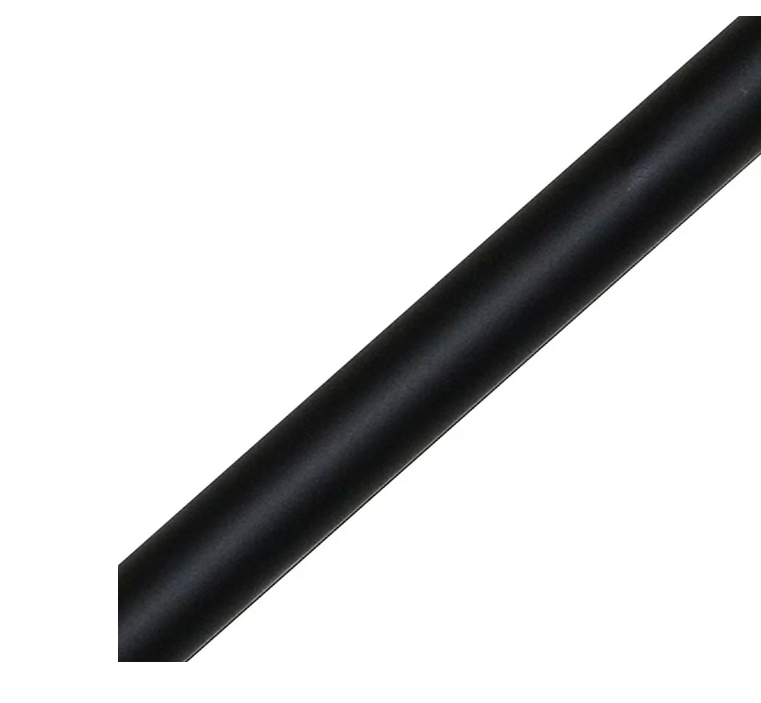
Harbor Breeze Universal 18-in Matte Black Steel Indoor Ceiling Fan Downrod
- Ceiling fan downrod, perfect addition that allows ideal height adjustment.
- Harbor Breeze 18-in matte black downrod
- 3/4-in inner diameter
$19.98
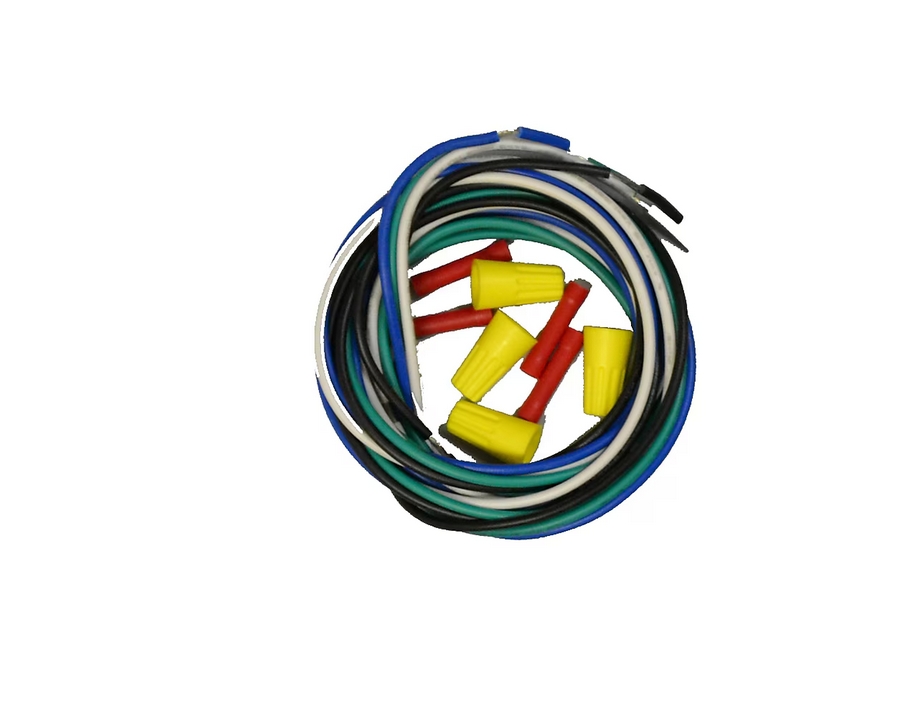
Harbor Breeze Universal 54-in Multicolored Plastic Indoor Ceiling Fan Wire Extension Kit
- Ceiling fan wire extension kit
- 54-in long wire extension kit
- Includes 4 primary 18 AWG wires
- Wire connectors included
- Easy to install
$5.98
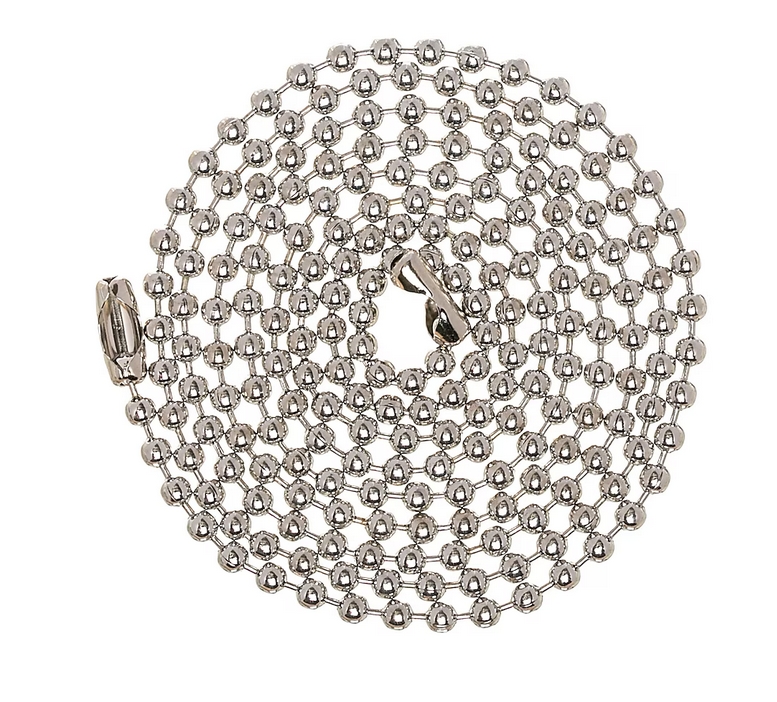
Harbor Breeze Universal 36-in Chrome Steel Indoor Ceiling Fan Pull Chain
- Harbor Breeze beaded pull chain chrome
- 36-in long
- Indoor use only
$4.48
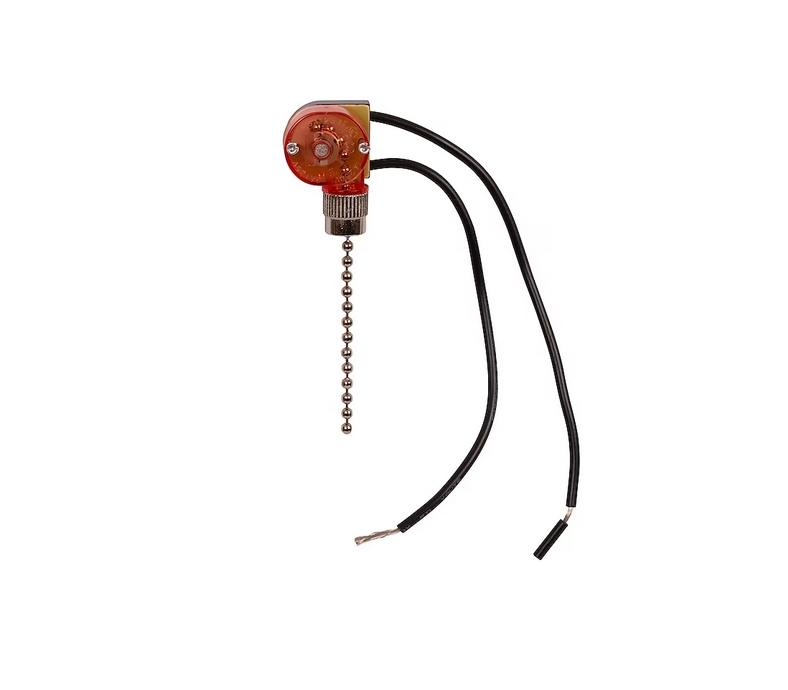
Harbor Breeze Universal 6-in 2-Setting Chrome Indoor Ceiling Fan Switch
- Replacement switch controls the on/off ceiling fan light control
- Easy to install in an existing ceiling fan to repair a broken switch
- Includes 2-in chrome pull chain from switch
- 6-in lead wire from switch
- 1A/250v, 3A, 125v, 18AWG wire, 105deg Celsius
$5.98
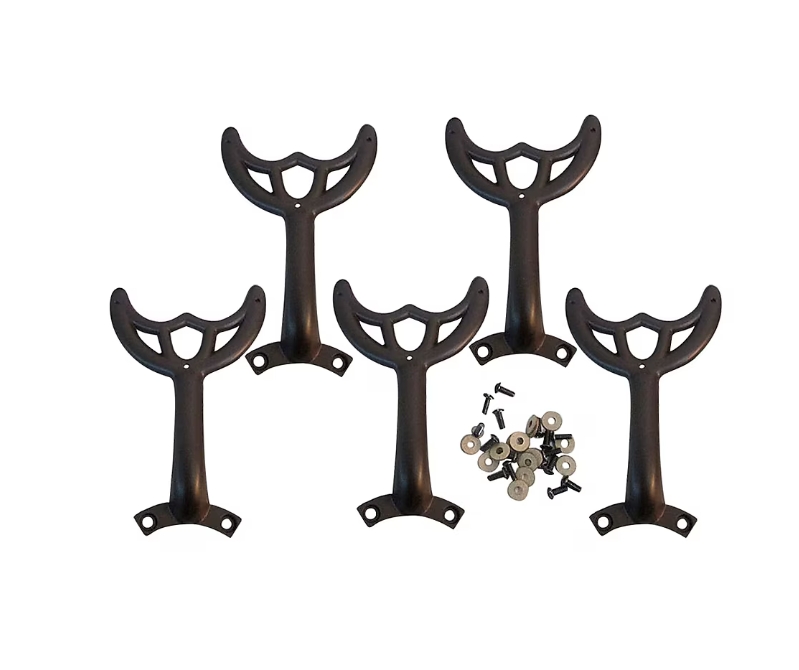
Harbor Breeze Universal 52-in Bronze Reversible Ceiling Fan Blade Arm
- 5 pack 52-in universal blade arms with screws for ceiling fan
- Featured in bronze finish
- Will fit most 52-in Harbor Breeze fans
- Restore performance and balance by replacing your old blade arms
- Measures 7 L x 4.25 W x 1.25 H
$23.98
Finding the right Harbor Breeze ceiling fan parts to repair your fan can be a frustrating experience. With so many parts and variations between models, it’s easy to end up with the wrong replacement part.
This comprehensive buying guide will provide everything you need to know about Harbor Breeze ceiling fan parts. I’ll cover how to identify your model, where to buy parts, common replacements, troubleshooting issues, installation, and more. With these tips, you’ll be able to quickly find the Harbor Breeze ceiling fan parts you need.
Identifying Your Harbor Breeze Ceiling Fan Model
The first step in buying replacement parts is identifying your Harbor Breeze model number. This can typically be found on a sticker on top of the fan motor housing.
Look for a model number like “I-Beam”, “Mystic”, or “Armitage”. Jot this down before searching for parts.
You’ll also want to note the fan’s size, blade span, and number of blades. This helps ensure any replacement blades or other visible parts match the originals.
If your fan was purchased recently, check your paperwork for the model number. For older fans, you may need to remove the fan canopy to find the sticker.
Where to Buy Harbor Breeze Ceiling Fan Parts
Once you’ve identified your model, it’s time to search for parts. Here are the best places to buy genuine and replacement Harbor Breeze ceiling fan parts:
- Harbor Breeze Website – Harbor Breeze has an official parts store on their website. Enter your model number to find exact replacement parts.
- Amazon – Search Amazon for your specific Harbor Breeze model number and the part you need. Lots of listings for both OEM and generic parts.
- Home Depot – Since they sell Harbor Breeze fans, Home Depot stocks many common replacement parts both online and in stores.
- Lowe’s – As another major retailer of these fans, Lowe’s is another good choice for parts.
- eReplacementParts.com – For hard-to-find parts for older fans, this website has an extensive catalog of Harbor Breeze parts.
Common Harbor Breeze Ceiling Fan Parts to Replace
Here are some of the most commonly replaced Harbor Breeze ceiling fan parts:
- Blades – Over time, fan blades can warp or break. Replacing with a new set restores airflow.
- Light Kits – Light kits with bulbs and globes wear out. Upgrade to an LED light kit for brightness and efficiency.
- Remotes – Lost or broken remotes for ceiling fans can be replaced with universal or original models.
- Pull Chain Switches – These switches engage the fan speeds and lights. Replacements install quickly.
- Capacitors – Bad capacitors cause fan flickering or failure to start. Simple DIY capacitor replacement gets it running again.
- Balancing Kits – To stop a wobble, balancing kits add weight to blades. Use when adjusting blade angles doesn’t work.
- Motor – Replacing the entire fan motor assembly is an option if the motor fails. Match your model for an easy swap.
Troubleshooting Common Harbor Breeze Ceiling Fan Issues
Before replacing parts, it helps to troubleshoot and diagnose what’s wrong with your Harbor Breeze ceiling fan. Here are common issues and solutions:
- Fan Doesn’t Spin – Check the blade spins freely, capacitors, and wiring connections. Replace capacitors or motors as needed.
- Fan Wobble – Adjust blade angles, check brackets, and add blade weights to stabilize wobble. Replace bent blades.
- Noisy Operation – Lubricate moving parts, check blade clearance, and tighten all hardware. Replace defective motors or blades.
- Lights Not Working – Check bulbs, the light kit socket, wiring, and switch connections. Replace defective parts.
- Remote Control Not Working – Replace batteries, check remote programming, replace remote or receiver as needed.
- Pull Chain Jammed – Remove chain, lubricate mechanism, and reattach chain. Replace if damaged.
Basic troubleshooting helps determine which part replacement is needed for your repair.
Are Harbor Breeze Parts Universal?
Harbor Breeze ceiling fan parts are generally not universal across different models. Because there are so many variations in designs, you’ll need to match replacement parts to your specific model’s specs.
The exceptions are some generic parts like capacitors, which often have the same ratings between models. But blades, light kits, motors, remotes, and other visible parts must match your original fan.
Using the wrong replacement part can lead to improper operation or damage to your fan due to the mismatch. Check your manual or consult an expert if you’re unsure about compatibility.
How to Find the Right Replacement Parts
To find the correct Harbor Breeze ceiling fan parts for your model:
- Carefully identify your model number and specs as outlined above.
- Search official Harbor Breeze part listings for your exact model’s replacements first.
- If unable to find, check Amazon, eBay, repair sites for a match, often using model name and numbers.
- For visible parts like blades, match size, shape, color, number of blades, and attachment.
- Electrical parts must match the voltage, wiring, and power ratings to work and be safe.
- When in doubt, contact Harbor Breeze support with your model number for guidance.
- Consider consulting a ceiling fan repair expert if unable to DIY.
Taking the time to properly identify your fan’s specs and replacement needs ensures ordering the correct Harbor Breeze ceiling fan parts.
How to Replace a Harbor Breeze Ceiling Fan Motor
If the motor on your Harbor Breeze ceiling fan goes bad, replacing it is a more complex repair but still doable for a handy DIYer. Here are the steps:
- Turn off power to the fan at the breaker.
- Remove the fan canopy and blade arms according to your model’s instructions.
- Disconnect the wiring plugs from the old motor housing.
- Remove the old motor assembly’s mounting brackets.
- Install the new motor’s mounting brackets using the same hardware.
- Connect the new motor’s wiring according to the wiring diagram.
- Attach the blade arms and fan canopy.
- Turn power back on and test the fan’s operation.
The new motor should bolt directly into place of the old one. Take care to wire the fan correctly for safe operation. Overall, it’s a straightforward replacement project for your handy Harbor Breeze ceiling fan.
How to Replace the Light Kit
Over time, Harbor Breeze ceiling fan light kits can wear out or you may want to upgrade to something new. Here are tips for replacing a ceiling fan light kit:
- Turn off power to the fan.
- Remove the old light kit by taking out the screws or clips. This detaches it from the mounting plate.
- Disconnect the electrical plug from the sockets. Make note of the wiring.
- Attach the new light kit wires to the ceiling plate wires matching the colors.
- Install the new light kit using the same hardware as the old one.
- Turn the power back on and check for proper operation.
It’s a quick project that takes about 10-15 minutes. Make sure your new light kit is compatible with your Harbor Breeze fan’s specs for a safe installation.
What Tools are Needed for Installation?
Installing replacement Harbor Breeze ceiling fan parts generally only requires some basic tools:
- Phillips Screwdriver – Most hardware uses Phillips-head screws. A screwdriver with multiple tips ensures a proper fit.
- Wrench or Nut Driver – A wrench helps remove blade arm assemblies and wiring nuts. Have common nut driver sizes on hand.
- Wire Strippers – Often need to strip replacement wiring when installing electrical parts.
- Ladder – Allows safe access to the ceiling fan for installation. Use a sturdy step ladder.
- Voltage Meter – Helps check wiring connections during installation for safety.
- Work Gloves – Protect your hands from sharp fan edges while working overhead.
Avoid using power tools as they can easily over-tighten and damage hardware or fan parts. Having these basic DIY tools allows you to install Harbor Breeze ceiling fan parts with ease.
How to Replace the Pull Chain Switch
If your Harbor Breeze ceiling fan’s pull chain switch breaks or jams, replacing it is an easy fix. Follow these steps:
- Turn off power to the fan.
- Remove canopy screws and take down the canopy.
- Find the screw(s) holding the switch body inside and remove them.
- Disconnect the wiring from the old switch.
- Install the wiring on the replacement switch matching the colors.
- Insert the new switch into the canopy, aligning the screw holes.
- Reinstall the screws to secure the new switch.
- Replace the canopy and turn power back on.
Test the new pull chain switch for proper operation. Take care not to pinch the chain during reinstallation to avoid jamming the new switch.
How to Fix a Wobbling Ceiling Fan
It’s frustrating when your Harbor Breeze ceiling fan starts to wobble, but it can be fixed. Here are troubleshooting tips:
- Check the mounting bracket is tight and not bent. Tighten or realign as needed.
- Inspect the blade arms to ensure they are straight and securely fastened.
- Use the blade angle adjustment screws to balance the blades. Setting to the same angle can resolve a wobble.
- Check blade weights and kits for missing or broken pieces, replacing any as needed.
- Look for cracked blades and replace any damaged ones immediately.
- As a last resort, replace the blade iron arm or entire motor assembly if damaged.
With these ceiling fan balancing tips, you can stop that annoying wobble and have your Harbor Breeze running smooth again.
How to Clean Harbor Breeze Ceiling Fan Parts
Regular cleaning keeps your Harbor Breeze ceiling fan looking and performing like new. Here are some tips:
- Wipe fan blades with a microfiber cloth, gentle cleaner, and water. Avoid harsh chemicals.
- Use a small brush to dust motor vents and light fixtures. Check bulbs are secured.
- For light kits, gently clean globes and shades with mild soap and water using a soft cloth.
- Wipe down the ceiling canopy, switch housing, and mounting base as needed with a mild cleaner.
- Inspect blades and use non-damaging polish to restore minor scratches and maintain the finish.
- Confirm all hardware is tightened properly after cleaning to prevent loosening over time.
Proper cleaning and maintenance helps your Harbor Breeze ceiling fan parts stay in great working order. Be sure to use care when working around electrical components.
Finding Discontinued Replacement Parts
For older Harbor Breeze ceiling fan models, replacement parts may be discontinued. Here’s how to find them:
- Check with Harbor Breeze customer service regarding availability of specific parts for your model.
- Search eBay, Amazon, and specialty parts websites using your model name/number for NOS parts.
- Look at ceiling fan repair forums where users may offer spare parts for sale.
- Consider contacting a ceiling fan repair service to see if they have access to legacy parts supplies.
- As a last resort, customize parts from a similar fan to work or replace the entire unit.
- For electrical control parts, generic replacements with matching specs will often work.
With some persistence you can often track down discontinued parts to keep your older Harbor Breeze fan going.
Conclusion
I hope this complete Harbor Breeze ceiling fan parts buying guide provides the information you need to successfully replace common parts and keep your fan running its best. Properly identifying your model, finding accurate replacements, DIY installation tips, and troubleshooting advice will ensure your repair is a success. Let me know if you have any other ceiling fan parts questions!