
A Comprehensive Guide to Harbor Breeze Remote Control Fans
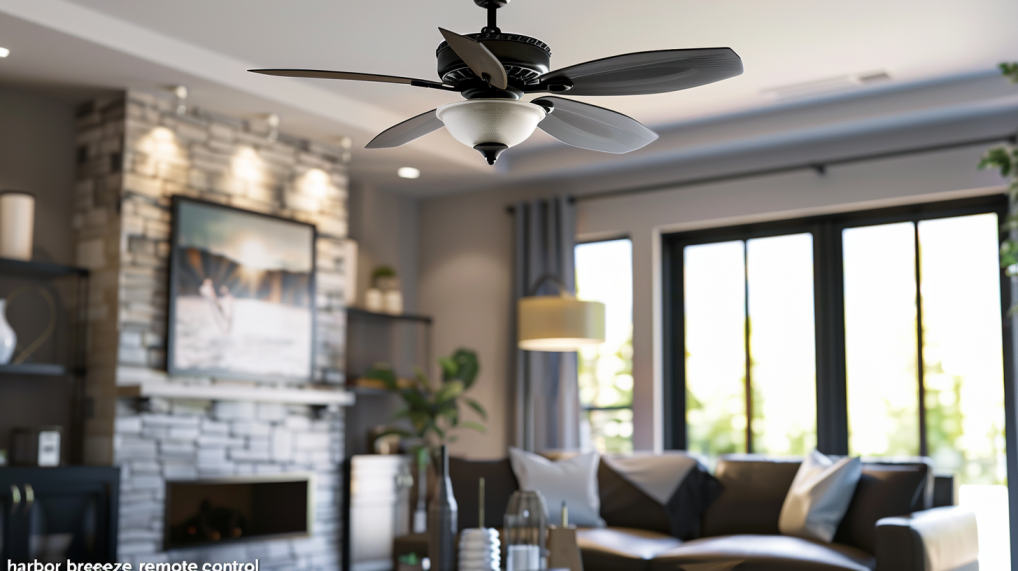
As I walked through the home improvement store looking for a new ceiling fan, I felt overwhelmed by all the options. There were so many different brands, styles, sizes, and features to consider. But one jumped out at me right away – the Harbor Breeze remote control ceiling fan display.
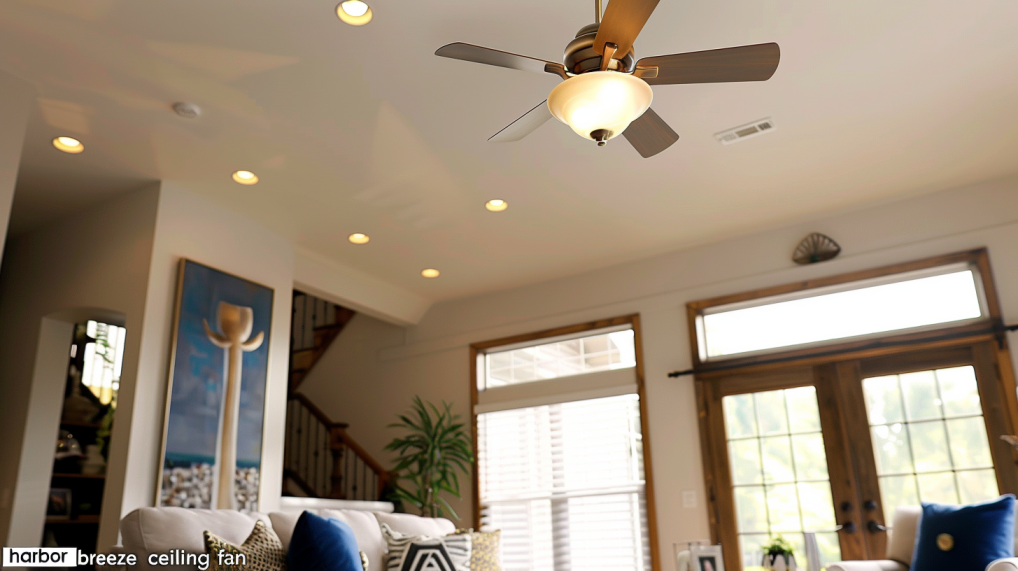
The convenience of having a remote to control my fan speed and lights seemed brilliant. No more fumbling with pull chains or standing on furniture to adjust my fan. I could change settings from the comfort of my couch! Plus, the Harbor Breeze fans came in sleek, modern designs that would look great in any room. I was sold.
After installing my Harbor Breeze remote control ceiling fan, I absolutely loved the ease and flexibility it gave me. But I quickly realized there was more to learn than just basic operation. From troubleshooting remote issues to syncing multiple fans, there were some tricks to using my new purchase to its fullest potential.
After plenty of research and hands-on experience, I feel equipped to share my knowledge about Harbor Breeze remote control ceiling fans. If you’re interested in the convenience and style of a remote fan, this comprehensive guide will walk you through everything you need to consider. Let’s dive in!
Choosing the Right Harbor Breeze Remote Control Ceiling Fan
With a wide variety of models and designs available, the options can feel endless when selecting a Harbor Breeze remote fan. Here are the key factors to consider when choosing the perfect model for your needs:
Room Size – Harbor Breeze offers fan sizes ranging from 29” to 60”. Measure the room and opt for a fan diameter about 2/3 the width for optimal airflow.
Style – Choose from sleek, modern designs or more traditional options with lighting fixtures. Match the style to your home decor.
Features – Many Harbor Breeze models include built-in lights. And remotes allow control over the fan speed, direction, and lights. Consider which features will be useful.
Blade Pitch – Fans with higher blade pitches move more air more efficiently. Choose a 14 or 15 degree pitch for large rooms.
Budget – Harbor Breeze fans range from $100 to $500. Set a budget and find the best option available.
Smart Options – Some newer Harbor Breeze models can integrate with smart home systems for app and voice control. Pick a smart fan if you want added connectivity.
Once you select the ideal Harbor Breeze remote control ceiling fan for your space and needs, it’s time to install it. Here’s a step-by-step guide on how to get your new fan up and running.
Installing Your Harbor Breeze Remote Control Ceiling Fan

Installing a ceiling fan may seem intimidating. But Harbor Breeze fans come with detailed installation manuals and all the parts and hardware needed. Follow these steps to safely install your new fan:
Step 1: Turn off power at the circuit breaker and remove existing light fixture.
Step 2: Install the mounting bracket to the ceiling junction box using provided screws.
Step 3: Attach the fan motor assembly to the mounting plate until it clicks and locks into place.
Step 4: Secure the trim ring over the fan motor and fasten it in place.
Step 5: Install the fan blades onto the blade arms using the provided blade screws.
Step 6: Attach the light fixture and glass shade to the underside of the fan motor.
Step 7: Connect all wiring, ensuring the wires match wire colors from the ceiling.
Step 8: Attach the remote control receiver to the mounting bracket.
Step 9: Fasten the fan motor housing onto the mounting bracket using the provided screws.
Step 10: Turn on power and use the remote to test fan speeds and light functionality.
As long as you follow the provided directions closely and take proper safety precautions, installing a Harbor Breeze ceiling fan with remote is totally doable in less than two hours for most homeowners. Now let’s look at how to operate your new purchase.
Get Comfortable with Your Harbor Breeze Remote Control
The beauty of a remote control ceiling fan is being able to operate it from anywhere in the room. Harbor Breeze remotes allow complete control of the fan speed, direction, lights, and more. Here are some remote functions to get familiar with:
Fan Speed – The remote will have buttons to select through all the fan speeds, usually ranging from 1 (low) to 6 (high). Start low and increase as desired.
Light Dimmer – If your fan has built-in lights, use the remote to brighten or dim them to your preferred level.
Fan Direction – Toggle the remote to change the direction the fan spins and airflow. Great for seasonal changes!
Timer – Some models have a timer button to automatically turn the fan off after a set number of hours.
Fan Speed Mode – Allows switching between preset and customizable speed settings.
Don’t be afraid to play around and test all the settings – getting comfortable with the remote is the only way to truly unlock all of a Harbor Breeze fan’s potential! But what if you run into problems with the remote? Let’s go over some troubleshooting tips.
Troubleshooting Harbor Breeze Remote Control Issues
Harbor Breeze ceiling fans with remotes simplify operation and give homeowners more control over their comfort. However, like any electrical product, issues can pop up that require some troubleshooting. Here are some common remote control problems and their solutions:
Fan not responding – Check that the remote is in range of 15-20 feet from the fan. Make sure batteries are installed correctly with good charge. Verify the power is on.
Remote not syncing – To sync a remote, press and hold the “off” button on the remote until the fan lights blink. This usually takes about 10-15 seconds.
Remote lost sync – If the remote stops controlling the fan, the sync connection was likely lost. Re-sync using the steps above.
One function not working – Try replacing batteries in the remote. Check any loose wiring connections. Make sure the remote channel is properly selected.
Fan wobbling – Adjust the blade angles as needed to balance the fan. Check that all hardware is tightened properly.
No light despite new bulbs – Check the circuit breaker. Make sure wiring is connected properly. Test with a different remote to isolate issues.
Odd noise – Tighten all blade screws. Check for debris hitting fan blades. Make sure the motor is secured tightly.
With some focused troubleshooting, most common remote control issues can be quickly resolved. But if problems persist or you’d rather not tackle repairs yourself, contact Harbor Breeze customer support who can walk you through solutions or send replacement parts.
Digging into Advanced Features and Functions
As you get more comfortable with your Harbor Breeze remote control ceiling fan, you may be curious about tapping into more advanced functions. Let’s look at some hidden talents that can maximize your fan’s potential.
Using Multiple Fans with One Remote
If you have several Harbor Breeze fans, you can program one remote to operate up to 3 different fans! Just sync each fan to a different channel on the remote numbered 1-3. Then use the channel selector button to take control of each fan individually. No need for multiple remotes!
Adjusting Speed Settings
Don’t like the preset speeds? Customize them to your liking! When in “custom” mode on the remote, use the “+” and “-” buttons to increase or decrease the speed at each setting. This lets you customize speeds perfectly for your comfort.
Enabling Sleep Mode
Set your fan to slowly decrease speed over a few hours to gently cool the room without sudden changes blowing air on you as you drift to sleep. Simply press the “sleep” button on compatible remotes.
Controlling Multiple Fans Simultaneously
Select fans within 30 feet of each other can be programmed with the same remote channel to control them all at once. Great for large, open spaces!
Setting Up Repeating Schedules
On smart models, use the app to set schedules during certain hours each day or on weekends. Come home to your fan automatically running to cool down the room.
While most basic functions are intuitive, taking time to unlock advanced features will help get the most out of your Harbor Breeze remote control ceiling fan for years to come.
Handy Accessories and Upgrades for Harbor Breeze Fans
One of the best parts of Harbor Breeze ceiling fans is the wide selection of accessories and upgrades available to further enhance your fan. Here are some of my favorite add-ons:
- Replacement remote controls – If your original remote gets lost or damaged, replacement remotes can be purchased for any Harbor Breeze fan.
- Bluetooth receivers – Allow you to control your fan through a smartphone app for added convenience.
- Wall controls – Mounted switches that offer hardwired control in addition to the remote.
- Light kits – Add a light kit to any Harbor Breeze fan without built-in lights for whole-room illumination.
- Larger blades – Increase airflow by upsizing standard blades to larger sizes up to 60”.
- Smart home integrations – Connect newer Harbor Breeze models with smart home platforms like Alexa or Google Assistant.
- Extended warranties – Extend coverage beyond the standard warranty period for added peace of mind.
With handy accessories, technology integrations, and upgraded components, you can customize your Harbor Breeze remote control ceiling fan to best meet your needs. The options are practically endless!
Maintenance Tips to Keep Your Fan Running Smoothly
Like any frequently used electrical fixture, Harbor Breeze ceiling fans require occasional maintenance to keep them operating properly. Here are my top tips for fan upkeep:
- Wipe fan blades every few months to prevent dust buildup which can impact airflow.
- Check blade screws and hardware connections twice per year. Tighten anything loose.
- Clean the glass light shades when dusty so maximum light shines through.
- Replace remote batteries every 6 months or when low. Consider rechargeable batteries.
- Inspect the motor housing yearly for buildup of dirt, grime, or bugs. Clean as needed.
- Apply a lubricating spray every 3-4 years to the moving parts like rotor and motor shaft.
- Verify blade angles yearly and adjust any that have shifted to maintain proper balance.
- Check ceiling fittings each year to make sure everything is secured properly.
With periodic cleaning, hardware checks, and replacement of worn parts when required, your Harbor Breeze fan will provide comfort and ambiance for years of enjoyment.
Final Thoughts on Harbor Breeze Remote Control Ceiling Fans
As I reflect on my journey into the world of remote-controlled ceiling fans, I’m thrilled with my Harbor Breeze purchase. The simple fact that I can change my fan speed, lighting, direction, and more without ever leaving my bed or couch is life changing. I never knew how much convenience a remote control could add to such a standard home fixture like a ceiling fan.
But beyond just the convenience, I continue to be impressed by the quality, durability, and performance of my Harbor Breeze fan. And the sheer number of designs ensures you can find an option to complement any room’s decor.
So if you’re ready to take your ceiling fan to the next level with the simplicity and style of a remote control, I can’t rave enough about Harbor Breeze. They provide the perfect blend of form and function that takes your comfort, efficiency, and home ambiance to new heights!