
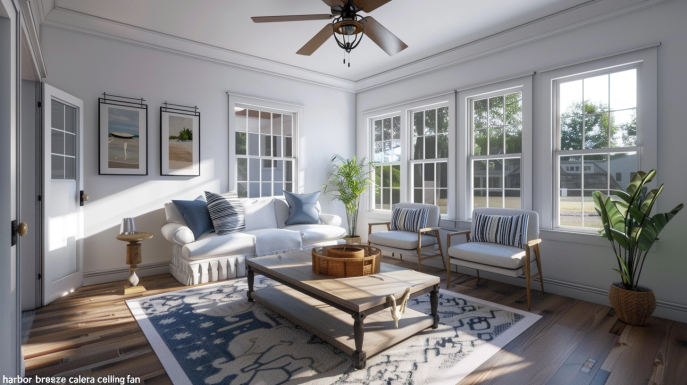
I’ve always been a fan of ceiling fans. There’s nothing better than feeling a cool breeze on a hot summer day. So when it came time to install a ceiling fan in my bedroom, I knew I wanted something stylish yet functional. After doing some research online, I decided on the Harbor Breeze Calera ceiling fan. In this blog post, I’ll take you through my experience purchasing, installing, and using this fan over the past several months.
Purchasing the Harbor Breeze Calera
I purchased my Harbor Breeze Calera ceiling fan through Lowe’s online store. It was listed at $159.99 which felt like a fair price for a 44 inch ceiling fan made by a reputable brand like Harbor Breeze. The Calera features reversible Brazilian cherry and stained oak fan blades. I liked that the blades can be flipped to match my room’s aesthetic.
There are a few variants of the Calera available:
- Standard Calera with a LED light kit included
- Calera with uplight only instead of a light kit
- Calera with no light
I opted for the standard version since I wanted both ambient downward lighting and the uplighting. Lowe’s frequently runs promotions on Harbor Breeze fans, so keep an eye out for potential savings.
Unboxing and Inspecting the Contents
When the fan arrived, I was pleased to see how securely everything was packed. The styrofoam inserts kept the fan motor and blades safe during shipping. Here’s what comes in the box:
- Assembled fan motor and housing
- Set of 5 reversible blades
- LED light kit with frosted glass shade
-blade irons and mounting screws - 2 pull chain switches (light and fan)
- Balancing kit
- Instruction manual
I took a few minutes to inspect each item for damage and made sure all the necessary components were there. satisfied everything looked good, I moved onto installation.
Installing the Harbor Breeze Calera
Installation went smoothly for the most part. Here are the key steps I followed:
- Mount the ceiling bracket – I used the provided hardware to attach the u-shaped bracket directly to a ceiling joist.
- Hanging the fan – Once wired through the ceiling plate, I hung the fan motor by its hanger ball/downrod assembly.
- Attaching the blades – The Harbor Breeze Calera blades are easy to attach with the included blade arm screws. Just sandwich each blade between a blade iron and tighten.
- Installing the LED light kit – Three screws secures the LED light kit’s housing to the bottom of the fan. I plugged in the connector and made sure the frosted glass shade was secure.
The overall process took around 2-3 hours. While installing a new ceiling fan is not rocket science, I’d recommend having someone assist you for convenience.
Remote Control and Wall Switch Setup
The Calera doesn’t come with a remote out-of-the-box, but I was able to integrate it with my Harbor Breeze Universal Ceiling Fan remote. This remote can operate the light, adjust fan speeds, power settings, and more from anywhere in the room.
I also wired in a separate wall switch to control the light and fan independently. This allows the fan to operate sans remote if needed. The Calera is compatible with many smart home platforms as well with additional hardware. But for my needs, the remote and wall switch were sufficient.
Performance: First Impressions
On first power up, I immediately noticed how quietly the Calera operates, even at the highest speed setting. The 44-inch blade span circulates a strong airflow throughout my 15×15 bedroom.
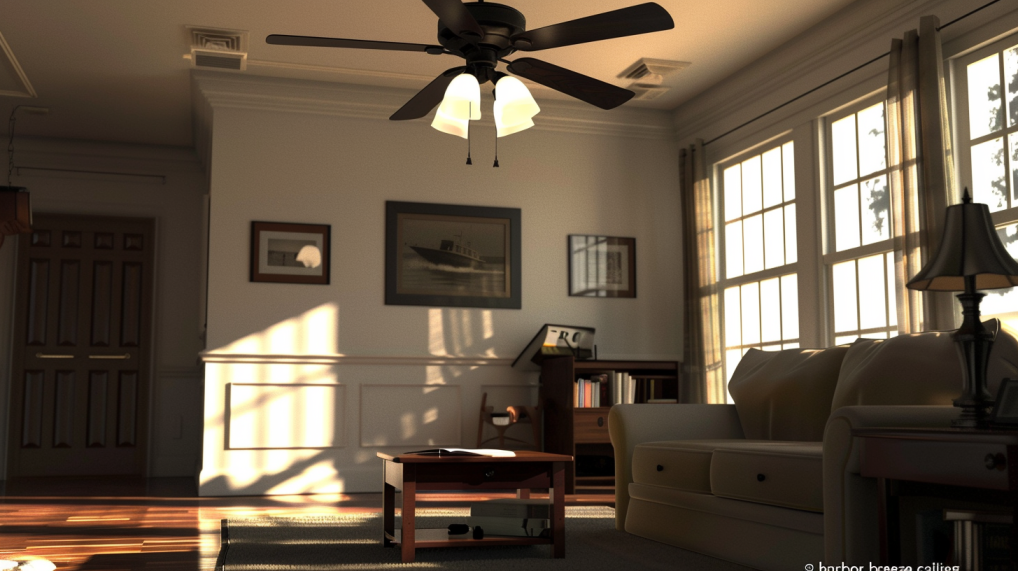
The LED light kit produces a bright, pleasing glow thanks to the frosted glass. I also really like the ambiance created by the Calera’s up and downlight combination. The warm uplighting onto the ceiling contrasts nicely with the cooler downward illumination.
In terms of comfort, the Calera moving air keeps me cool without being harsh or noisy like some other brands I’ve tried. So far, the Calera has exceeded my expectations when it comes to performance and comfort.
Energy Efficiency
When researching ceiling fans, one aspect I look for is energy efficiency. The Harbor Breeze Calera does a great job in this regard. First, it has an Energy Star certification and uses just 28 watts on the highest speed setting. Secondly, the brushless DC motor avoids the energy loss you get with older AC motors.
According to Harbor Breeze, the Calera could save a household $50 or more per year in energy costs versus comparable fans. So over the 10+ year lifespan, those savings really add up. The Calera’s LED light kit is also highly efficient and long-lasting. So if energy savings are a priority, the Calera delivers.
Ambient Cooling Power
I discovered the Calera’s excellent cooling capabilities on some 95+ degree days this summer. With the fan on high speed, it produced a strong column of airflow capable of cooling down my entire bedroom.
Even outside the direct breeze, the Calera generated ambient cooling and a comfortable wind chill effect. The fan moves up to 5,069 CFM according to specifications. This allows it to efficiently circulate air and create a cooling buffer.
I estimate the Calera lowered my bedroom temperature by 6-8 degrees on those hot summer days. And combined with the A/C, my room became a cool oasis. The Calera also excels at destratification – mixing the warmer air near my ceiling with cooler air lower down. Overall, top marks for the Calera’s cooling abilities.
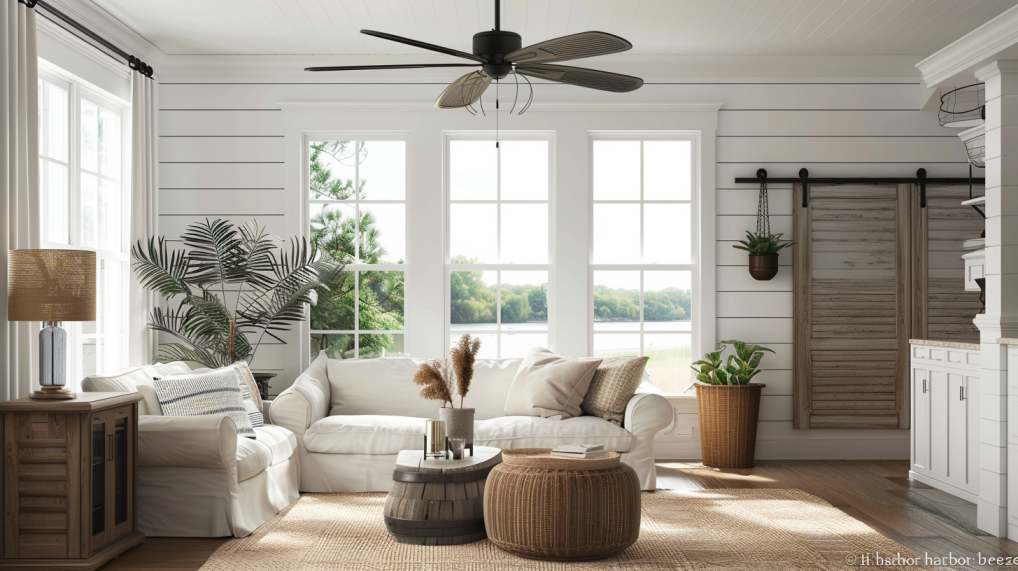
Aesthetics and Design
The Harbor Breeze Calera straddles the line between traditional and contemporary when it comes to style and design. The stainless steel body and base contrasts with the reversible cherry/oak blade finishing. This allows the fan to complement varied decors and room styles.
I also appreciate that Harbor Breeze offers over 10 color options for the frosted glass light shades. So there’s ample opportunity to customize the look. Overall the Calera has a streamlined, minimalist aesthetic despite having onboard lighting.
The build quality feels very solid with a sturdy integrated hanging system. The Calera doesn’t wobble and has held up nicely after months of daily use. For those wanting a stylish yet hardy ceiling fan, the Calera fits the bill.
Airflow Efficiency
A key specification I look for in any ceiling fan is airflow efficiency measured in CFM/Watt. This metric indicates how much airflow is generated per unit of energy consumed. According to Harbor Breeze, the Calera produces 147 CFM per watt on the highest speed setting.
That’s an excellent level of efficiency in my book. For comparison, older 70 CFM ceiling fans may only be 50-60 CFM per watt. This shows how more advanced engineering can improve performance.
In practical use, I can feel how the Calera moves a substantial volume of air while remaining energy efficient. This prevents energy waste while still delivering ample airflow for comfort.
Balancing and Pitch Adjustments

Out of the box, the Calera displayed very minimal wobble or vibration issues. However, some minor adjustments were needed for perfectly smooth operation.
Using the included balancing kit, I was able to easily tweak the blade angles and trim weighting as needed. This tuned the fan’s rotation and eliminated a slight vibration when on high speed.
I also appreciated that the Calera allows pitch adjustments via a knob in the motor housing. This let me optimize the angle of airflow for my room’s dimensions and ceiling height. After a few days of testing, I found my ideal settings. The Calera has run whisper quiet ever since.
Maintenance Needs
Proper cleaning and maintenance is key to ensuring any ceiling fan lasts for years. Here are my tips for keeping a Harbor Breeze Calera in peak condition:
- Wipe down fan blades regularly to remove dust buildup. This prevents imbalances and wobble over time.
- Check blade attachments, motor housing, and light fixtures periodically. Look for signs of loosening or wear and address immediately.
- Clean the frosted glass light shades every few months using mild soap and water. This maintains optimal light output.
- Test the remote, wall controls, and manual pull chains monthly to catch any issues early. Replace batteries in remotes as needed.
- Verify blade tightness, blade pitch, and fan leveling on a yearly basis. Re-balance or adjust if required.
Following these steps minimizes wear and tear and keeps the Calera running like new. The fan still looks freshly installed after nearly a year of operation.
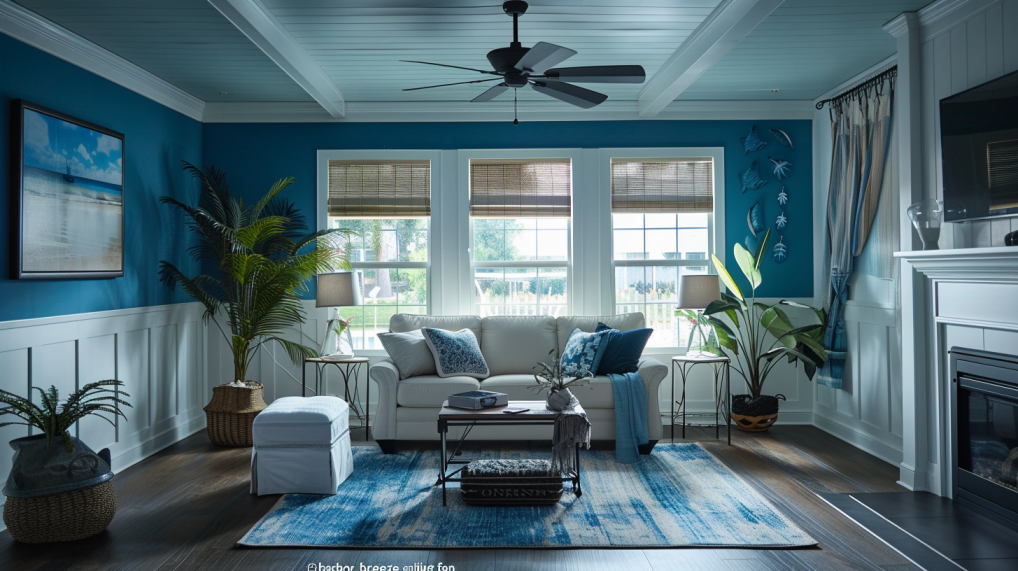
Ideal Room Fit
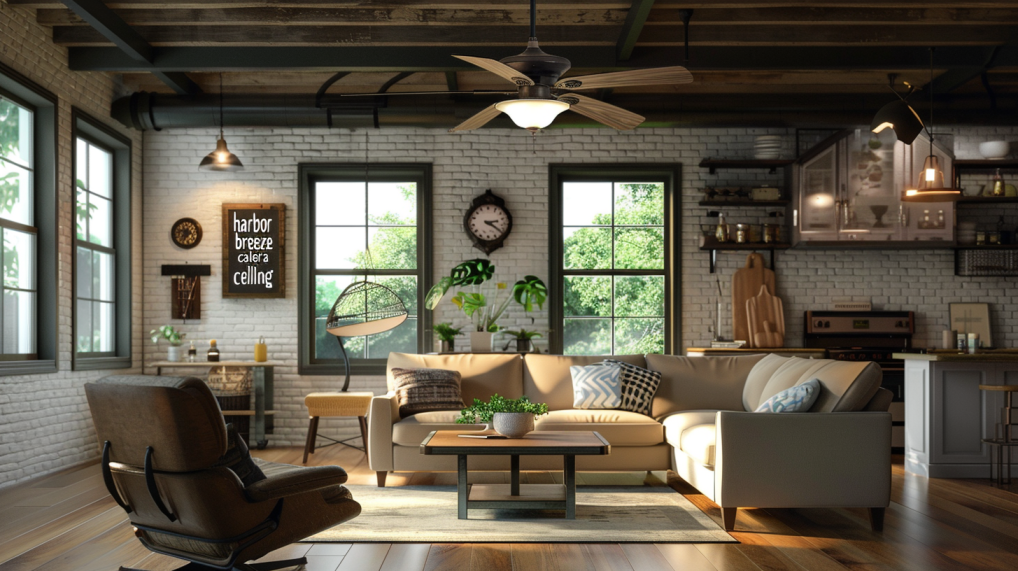
The versatile Calera works well in a variety of indoor settings. Its 44-inch blade span can handle rooms up to 400 square feet. I’ve found it perfect as a bedroom ceiling fan in my medium 15×15 space.
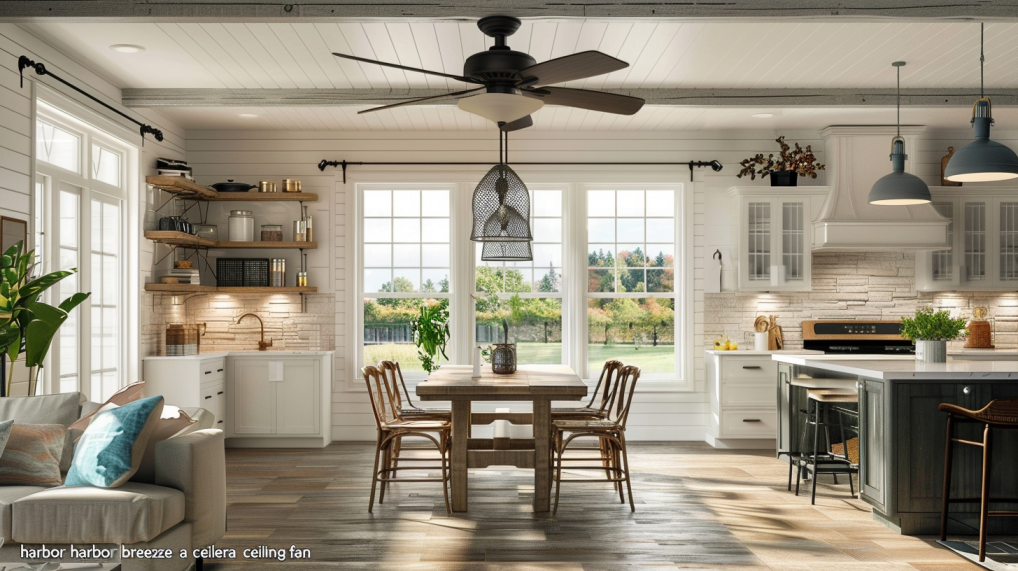
The Calera also excels in living rooms, kitchens, home offices, and other multi-purpose rooms. The airflow helps maintain comfort and temperature regulation without excessive noise.
For much larger rooms, choosing a fan with a longer blade span would be wise. But for average or mid-sized areas, the Calera offers the right balance of airflow and coverage. The lighting flexibility also allows it to match varied decors and color schemes.
Troubleshooting Guide
Installing and owning any ceiling fan inevitably involves some minor troubleshooting. Over the past months, here are the key issues I’ve run into with my Harbor Breeze Calera and how I resolved them:
Problem: Fan wobble/shaking on higher speeds.
Solution: Re-balanced blades and tuned blade angles using included balancing kit.
Problem: Light flickering or dimming occasionally
Solution: Removed glass shade and inspected all wiring connections. Found a loose plug and re-secured.
Problem: Fan not responding to remote commands
Solution: Replaced battery in remote. Also re-paired remote with receiver unit in fan housing.
Problem: Fan losing connection with smart home platform
Solution: Power cycled smart control module and re-added fan in app. Upgraded router firmware as well.
Overall, the Calera has required minimal fixes. But these troubleshooting tips should help address any hiccups that arise.
Warranty Coverage
The Harbor Breeze Calera comes with a limited lifetime warranty. This covers defects in workmanship and materials for as long as the original owner has the fan. Some exclusions apply for normal wear-and-tear.
The fan motor itself has a 2-year warranty at no additional cost. The LED light kit included with my Calera has a 3-year warranty as well. So major components are protected for years even with regular use.
Harbor Breeze also warrants all other fan parts for 1 year from defects. If any issues popped up in the first 12 months, I could get replacement parts shipped free of charge.
For ceiling fan purchases, robust warranty protection provides great peace of mind. Harbor Breeze offers coverage on par with other top brands in the space.
Outdoor Installation?
Can the Calera be installed outdoors? Short answer – yes, but with caveats. The Calera is an indoor ceiling fan at heart and optimized as such. However, the fan motor is rated as damp resistant. So with proper placement and precautions, outdoor installation is possible in covered areas like patios and porches.
The key is situating the fan where it’s shielded from heavy rain, sprinklers, storms, and other direct wetness. A water-sealed cover mounted above the fan provides an extra layer of protection too.
It’s also wise to have a professional electrician handle the outdoor wiring and installation. Choose bulbs rated for humidity and temperature fluctuations. And perform maintenance regularly to keep dampness at bay.
While not expressly designed for the elements, the Calera can work well in protected outdoor spaces with the right prep and precautions. But for true wet locations, purpose-built outdoor ceiling fans are recommended.
Light Bulb Options
The Harbor Breeze Calera comes pre-installed with a 13-watt LED light bulb in the frosted glass shade. This produces around 1100 lumens of bright, comfortable light.
If ever needing to replace the bulb, LED bulbs in the 9-15 watt range work well. Stick with reputable lighting brands for best performance and longevity. Always match the socket base type too – in this case medium-base E26.
Beyond the integrated LED downlight, some choose to customize the look by installing smart bulbs or different hues in the open uplight sockets. The possibilities are endless, just mind the max wattage.
I’m quite happy with my Calera’s default LED bulb. But those wanting more custom or accent lighting have lots of creative options for bulb experimentation!
Replacing the Light Kit
One advantage of the Calera is the light kit uses standard threaded sockets to attach to the fan housing. This makes replacing or swapping the lights simple with just basic tools.
To remove the existing light kit, I just unscrew the three mount screws and disconnect the plug. Reverse the process to install any new light kit option compatible with the Calera.
Harbor Breeze sells replacement LED light kits starting around $15. But there are also universal light kits from other brands that fit the Calera if you desire a unique look.
Just be mindful of the wattage, diameter, and weight capacities when installing a new light. But otherwise, customizing the lights on the Calera is a breeze.
Blade Span and Specs
Let’s talk more about the most eye-catching part of any fan – the blades! The Calera is equipped with five blades spanning 44 inches tip-to-tip.
Each blade measures 14.25 inches long by 4.2 inches wide. The blades on my Harbor Breeze Calera are made of birch wood with a stained oak/cherry finish.
Other specs of note:
- Reversible blades can be set to oak or cherry face
- Blade pitch adjustable up to 18 degrees
- Weighted for balancing
- Attaches to blade arm with 7mm screwed pins
The medium 44-inch blade span provides ideal airflow coverage for rooms up to 400 square feet. The wooden construction also dampens sound for quiet operation. And their reversibility lets you switch up styles effortlessly.
Smart Home Compatibility
In 2022, smart home integration has become a major ceiling fan feature. The basic Harbor Breeze Calera works with any universal remote but lacks native smarts. However, you can add smart control through a few avenues:
- WiFi Smart Module – Harrison Breeze’s own module adds app control via Bluetooth and WiFi. Lets you adjust lights, speed, schedules, etc. from your phone.
- Smart Switch – A smart switch like those from Lutron replaces your wall switch and connects the fan to your home WiFi and preferred voice assistant.
- Smart Bulb – Using smart bulbs in the uplight sockets allows app and voice control of the lighting. Fan would still need a separate smart switch.
There are also standalone hubs like Bond and Broadlink that can make basic IR-controlled fans voice controllable. So with the right gear, the Calera can absolutely join your smart home ecosystem.
Final Verdict
Hopefully this overview gives you a great idea of what to expect with the Harbor Breeze Calera ceiling fan. After nearly a year of hands-on use, I’m still very pleased with my purchase. The Calera delivers ample airflow, efficient operation, pleasing aesthetics, and solid construction. For the price, it’s tough to find a ceiling fan this versatile and well-performing.
The Calera suits most casual smart home needs as well. While missing some bells and whistles of premium fans, the Calera nails the basics and looks great doing it. Unless you need an industrial-strength fan or tons of smart features, the Calera gets my recommendation. It will provide years of comfortable, energy efficient cooling.